Raspberry Weather
Starting of my weather station project. I always wanted to get in touch with weather observation, IoT and a fancy Raspberry Pi project, so why not combine all of these together? First of all I have no experience in meteorolgy and this project is just for fun. Also any design decisions may be revoked at any time 😎
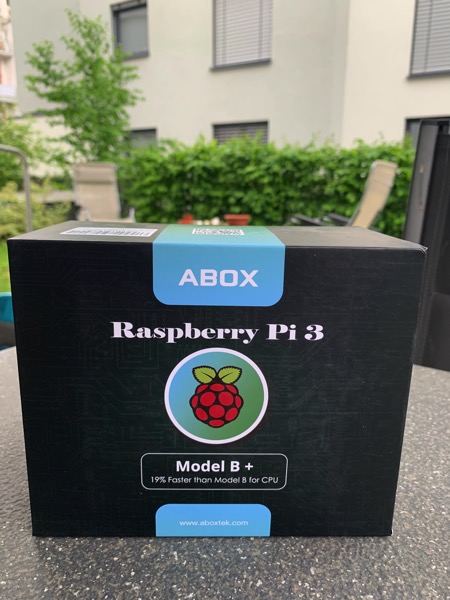
The Raspberry 3 arrived as well as other cool fancy stuff!

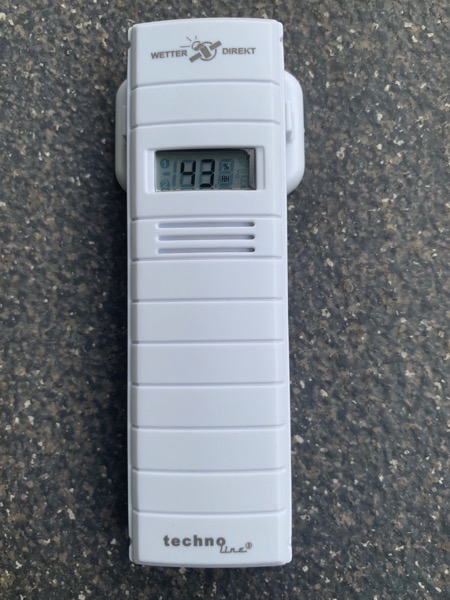
For the beginning the temperature and humidity will be measured. I chose the Technoline TX 35 DTH-IT sensor, it is battery powered cheap sensor (about 15 Euros at most retailers) that sends the measurements to its base station.

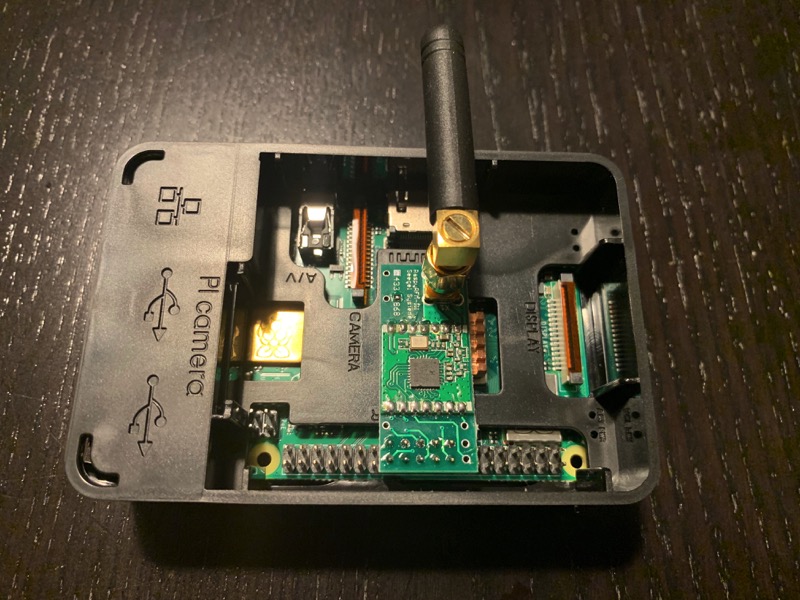
The data is sent via an 868 Mhz signal. So the Raspi has to be equipped with a suitable receiver. I chose the RaspyRFM-II - 868 MHz module from Seegel Systeme.

Obviously I picked a subobtimal antenna, but for my initial testings this shouldn´t be a problem.
After mounting the module on the Pi, you need to install spidev
apt-get install git-core python-dev
apt-get install python-pip
pip install spidev
and activate SPI e.g. via
sudo raspi-config
There is already an example script that reads out the data sent by the sensors, so just simply clone
git clone https://github.com/Phunkafizer/RaspyRFM.git
and start the script python emoncms.py and get happy to receive the first data:
RFM69 found on CS 0
INIT COMPLETE
La crosse {'batlo': False, 'timestamp': '2019-05-04T12:55:17', 'AFC': 0, 'init': False, 'T': (8.3, 'C'), 'RSSI': -90, 'RH': (66, '%'), 'ID': '44'}
Data : {'batlo': False, 'timestamp': '2019-05-04T12:55:17', 'AFC': 0, 'init': False, 'T': (8.3, 'C'), 'RSSI': -90, 'RH': (66, '%'), 'ID': '44'}
S:  {'node': 1, 'sensorId': 'b8', 'minInterval': 30}
Data : {'batlo': False, 'timestamp': '2019-05-04T12:55:17', 'AFC': 0, 'init': False, 'T': (8.3, 'C'), 'RSSI': -90, 'RH': (66, '%'), 'ID': '44'}
S:  {'node': 2, 'sensorId': 'e4', 'minInterval': 30}
Data : {'batlo': False, 'timestamp': '2019-05-04T12:55:17', 'AFC': 0, 'init': False, 'T': (8.3, 'C'), 'RSSI': -90, 'RH': (66, '%'), 'ID': '44'}
S:  {'node': 3, 'sensorId': 'ec', 'minInterval': 30}
Data : {'batlo': False, 'timestamp': '2019-05-04T12:55:17', 'AFC': 0, 'init': False, 'T': (8.3, 'C'), 'RSSI': -90, 'RH': (66, '%'), 'ID': '44'}
S:  {'node': 4, 'sensorId': '68', 'minInterval': 30}
Data : {'batlo': False, 'timestamp': '2019-05-04T12:55:17', 'AFC': 0, 'init': False, 'T': (8.3, 'C'), 'RSSI': -90, 'RH': (66, '%'), 'ID': '44'}
S:  {'node': 5, 'sensorId': '4', 'minInterval': 30}
Data : {'batlo': False, 'timestamp': '2019-05-04T12:55:17', 'AFC': 0, 'init': False, 'T': (8.3, 'C'), 'RSSI': -90, 'RH': (66, '%'), 'ID': '44'}
S:  {'node': 6, 'sensorId': '78', 'minInterval': 30}
Next steps will be to set up the Pi with AWS IoT and send some initial data to the cloud.